Drip irrigation install checklist: outdoor tap to first watering (UK)
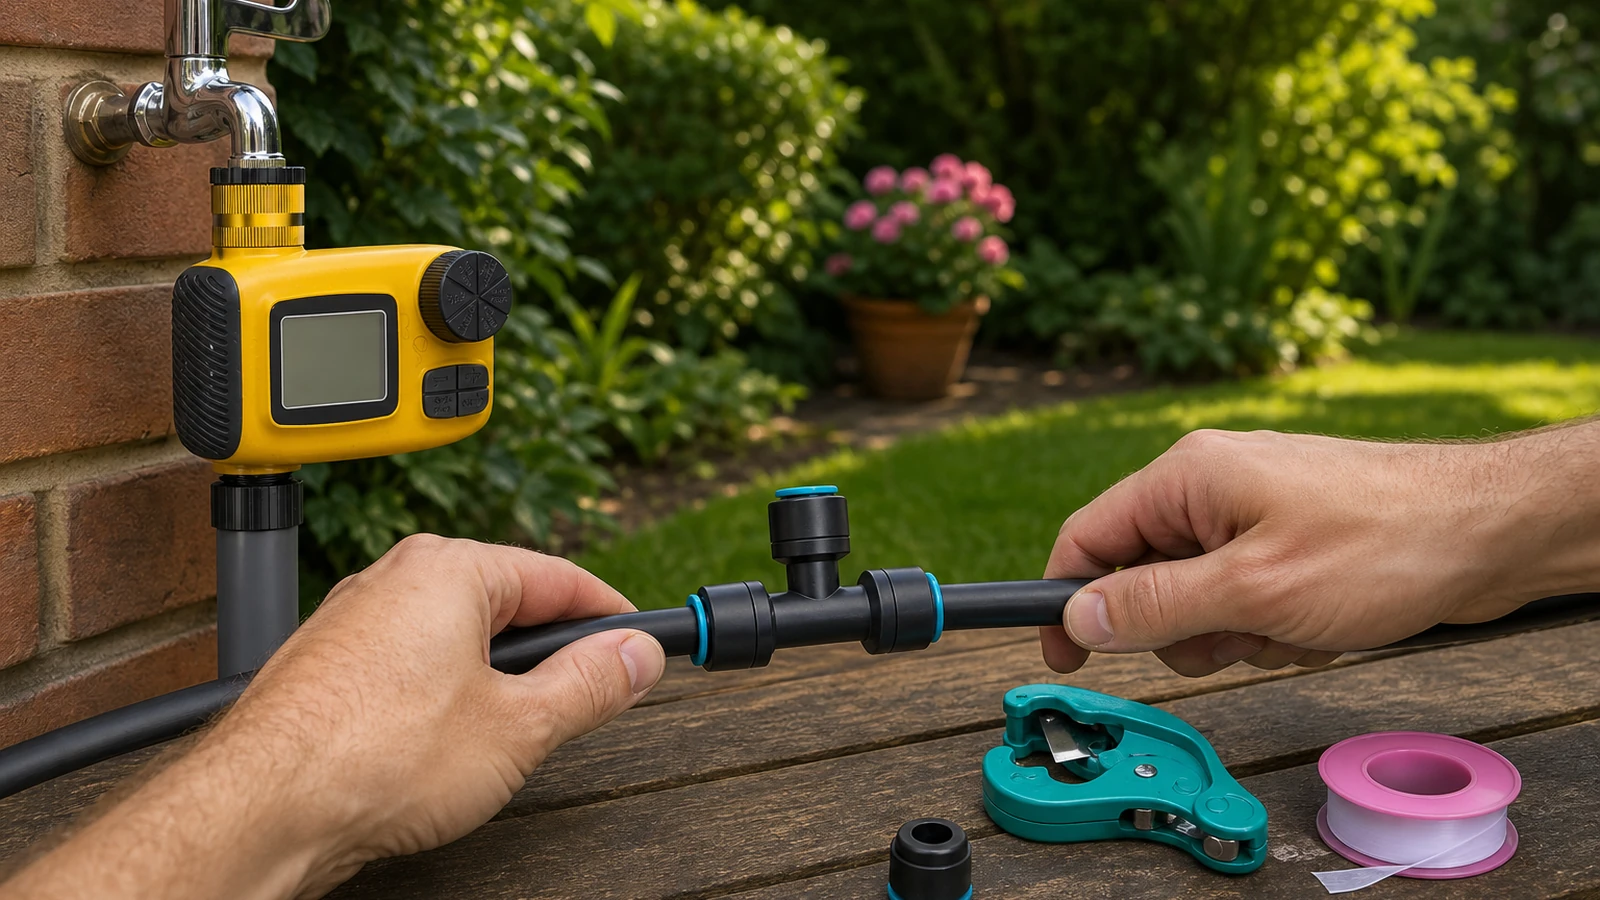
One evening, tap to first watering. Measure the thread before you cut. Hand-tight, flush, ten-minute test. Then leave the outdoor tap on.
One evening, everything in the box
This is a commissioning checklist, not a weekend of planning. You work from a pressurised outdoor tap, in one evening, with what is already in the kit: a tube cutter, PTFE tape, push-fit T-connectors, end plugs, 30 m of ½-inch tube, 20 adjustable emitters, a Y-splitter, and a programmable tap timer. Bring two AA alkaline batteries; they are not included. Pace the route if you like. Do not cut a single length until the tap thread is measured.
You do not need a plumber, a spanner, or a graph-paper map. The job is to hang a dry tap stack, lay tube from that tap outward, flush grit out of the line, and watch one automatic cycle actually start and stop before you go indoors.
Measure the tap before any cut
The kit is stated for standard ½″ and ¾″ BSP. Most UK outdoor taps are ¾″ BSP. That thread measures about 26.5 mm across the outside of the male thread. On a ruler it looks like an inch. It is not an inch. If you force a ¾″ collar onto a 1″ tap, or guess from the look of it, you cross-thread plastic before the first watering.
Close the tap. Offer the timer square to the spout and see whether it starts cleanly on the thread. If it does, you are on ½″ or ¾″ BSP and you can keep going. If it will not start, stop. A 1″, ⅞″, or GHT tap needs a separate adaptor. That adaptor is not in the box. Buy the right one before you unroll 30 m of tube. Do not “make it fit” with a spanner, and do not cut tube while you wait.
Warm the stiff ½-inch tube
Uncoil the ½-inch tube and let it lie in the sun, or dip the ends in warm — not boiling — water if the coil is still oval. The point is a round, square-cut pipe that sits along the border instead of springing back into a hoop. Cold, coiled tube fights every T-piece and weeps at the collet.
This is not the barb kettle trick. On a barbed fitting you shove the barb into the pipe, and plenty of UK how-tos still tell you to dunk the pipe in a kettle so it stretches. This kit is the other way round: the pipe goes into the fitting, past an O-ring, and a blue ring releases the joint later. Warm the coil so it lies flat and cuts round. Do not treat boiling water as the join method.
Tap stack, hand-tight only
Keep the tap closed. Check the inlet washer is seated flat. Wrap PTFE tape on the male BSP thread only, clockwise as you look at the end of the thread. Then build the stack: adaptor if you needed one, then the timer, then the Y-splitter if you are using it, then the first length of tube. The spinning collar is the tool. Hand-tighten until snug. Do not put a spanner on plastic. A crushed washer and a cracked collar are how an evening install becomes a return.
Put the two AA alkaline batteries in the timer now, so the live test later is not a hunt for a packet in the kitchen. Do not wrap PTFE around the mouth of a push-fit. Tape in the O-ring is a leak, not a seal.
Square cut, push-fit to the stop
Work from the tap outward, section by section. Cut with the included cutter so the end is square and round. Kitchen scissors crush the pipe into an oval; that oval weeps at the collet all night. Push the pipe into the fitting until it hits the internal stop, then tug. If it comes out, it was not home. The blue ring is a release, not a lock-nut. Do not tighten it. To take a joint apart later, depressurise, press the ring, and pull; the fitting is reusable.
Fit T-connectors where you need a branch. Fit emitters as you go. Leave every dead end open for the flush. Cap nothing yet.
Flush, then end plugs
Open the tap slowly with the ends still open and run until the water is clear. Cutting the tube leaves grit. That grit is what blocks the far emitters on night one. Only when the line runs clean do you fit the end plugs. An open end dumps the pressure; a plugged, unflushed line dumps the debris into the last emitters instead.
Ten-minute live test on site
Use the timer’s manual start and stay on the plot. Walk every joint, the first emitter, and the last emitter. Ten minutes under pressure — within the kit’s 0.5–8 bar working range — finds a weep while you can still reseat it. Dry the tap thread with a tissue. If it weeps, close the tap, back the collar off, reseat the washer, and hand-tighten again. Do not reach for the spanner.
Programme, then leave the outdoor tap on
Set a short first run, early morning. Watch one automatic cycle start, and watch it stop. A manual test that passed is not the same as a schedule that actually opens and closes. When that cycle has finished, leave the outdoor tap on. The timer valve is the shut-off. If you close the tap as you walk away, the timer will click on time and the border will stay dry.
Tonight’s 12-tick list
- Tap measured (½″ vs ¾″ BSP) before any tube is cut
- ¾″ BSP checked as about 26.5 mm outside diameter — not “1 inch on the ruler”
- 1″ / ⅞″ / GHT adaptor bought separately if needed (not in the box)
- Stiff ½-inch tube uncoiled and warmed so it lies round
- 2× AA alkaline batteries in the timer
- PTFE on male BSP only; washer seated
- Timer hand-tight — no spanner
- Square cuts with the included cutter
- Every push-fit to the stop, then a tug-test (the blue ring releases)
- Flushed with ends open, then end plugs
- 10-minute live test, still on site
- Outdoor tap left on, and one automatic cycle watched start to finish
Where first watering fails
| Fail | What happens | Fix tonight |
|---|---|---|
| Ruler says “1 inch” | Wrong adaptor, or a forced thread | ¾″ BSP is about 26.5 mm OD; 1″ / ⅞″ / GHT adaptors are not in the box |
| Spanner on plastic | Cracked collar, crushed washer | Hand-tight only |
| PTFE on the push-fit | Tape in the O-ring, then a leak | Male BSP threads only |
| Scissors or an angled cut | Oval pipe, weep at the collet | Included cutter, square |
| Blue ring wrenched | Damaged collet | Push to the stop; the ring releases |
| End plugs before flush | Grit in emitters, dry far end | Flush, then plug |
| Barb kettle as the method | Burnt hands, still the wrong join | Warm the coil for routing; push-fit is insert and tug |
| Tap shut when leaving | Timer clicks, border stays dry | Leave the outdoor tap on |
| No auto-cycle watch | Manual test passed, schedule never ran | Watch one full start and stop |
| Timer left out in frost | Split body | Indoors before winter — after tonight’s watering, not instead of it |
You can do this tonight.
See the 30 m ½-inch garden drip irrigation kit with tap timer — 20 adjustable emitters, push-fit fittings. £85.53.